How to Replace a Whole House Water Filter Cartridge — Step by Step
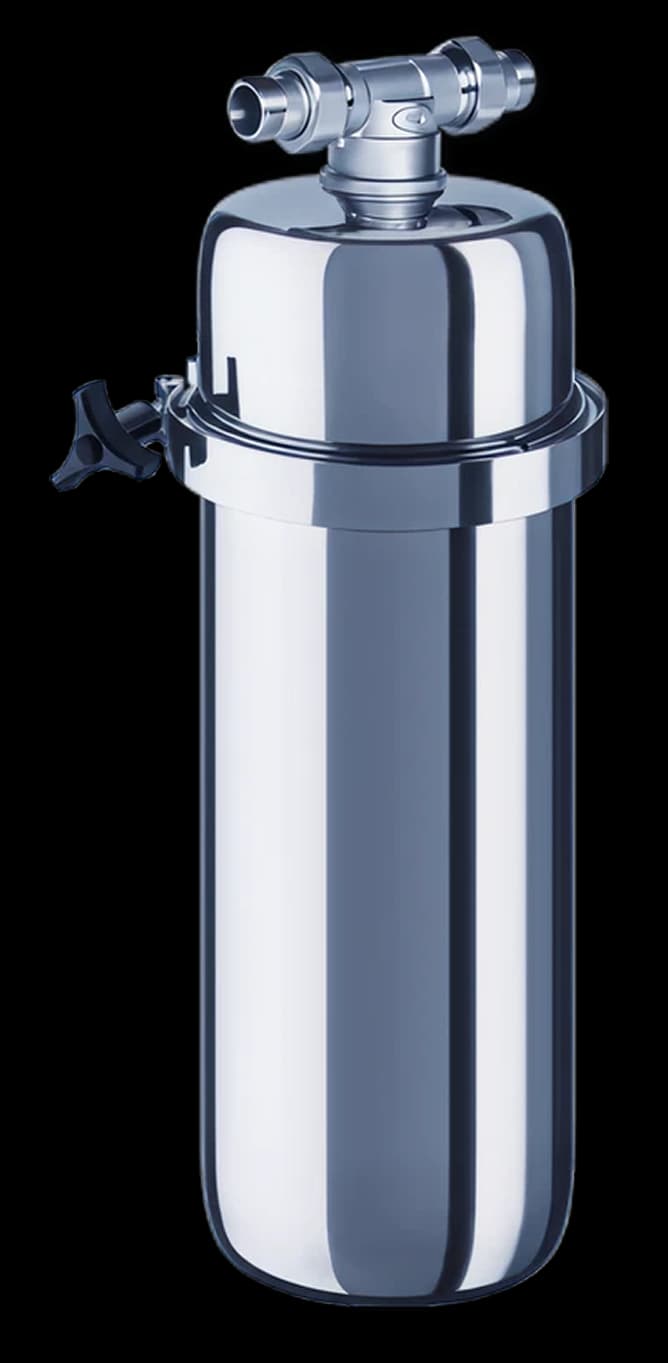
Whole-house water filter cartridge replacement is a ten-minute task that requires no tools, no plumber, and no interruption to the household water supply (thanks to the bypass valve). It is the single maintenance obligation of a point-of-entry filter system.
This step-by-step guide covers the Mam Nature POE system. The process is essentially the same for all standard single-housing POE filters — the bypass configuration and housing thread direction may vary slightly by brand.
What You Need Before You Start
Replacement cartridge (the Mam Nature Swiss Water Cartridge for Mam Nature systems — do not substitute a generic GAC cartridge, which will not provide the same ETH Zurich- validated contaminant removal profile). A bucket and old towels for residual water when the sump is opened. A flat work surface or step stool if the housing is mounted high on the pipe.
You do not need a filter housing wrench for the Mam Nature system — the sump is hand-tightened only, and hand-tightened is how it comes apart. If the sump is over- tight (from a previous service with tools), the housing wrench (included in the system box) provides the extra leverage needed for the first break. After that, do not over- tighten on reassembly.
Step 1 — Close the Bypass Valve
The bypass valve has three positions: filter (water flows through the filter), bypass (water routes around the filter, household supply maintained), and closed (no water flows). Turn the bypass to the bypass position — this keeps the household water running while you service the filter. The household will continue to have water at all outlets during the service, just without filtration for the few minutes the service takes.
If your installation does not have a bypass valve (older systems without one), shut off the main stop cock before opening the housing. This is why the bypass valve is mandatory — without it, cartridge replacement requires whole-house water shutoff.
Step 2 — Release Pressure
Open a cold tap downstream of the filter (a kitchen tap works). Water runs briefly from the residual supply in the pipes, then slows as the filter housing depressurises. Leave the tap open while you work — this prevents a pressurised release when you open the sump. The housing holds approximately 0.5–1 litre of water; expect this to drain when you unscrew the sump.
Step 3 — Unscrew the Sump
Place the bucket under the housing sump. Rotate the sump clockwise when viewed from below (this is the standard thread direction — clockwise to open). The sump should rotate freely by hand once pressure is released. If it does not move easily, use the housing wrench for initial breakage, then continue by hand.
As the sump threads disengage, the residual water in the housing drains into the bucket. Remove the sump completely and set it aside.
Step 4 — Remove the Old Cartridge
Pull the old cartridge straight down out of the housing body. It may be slightly stiff if it has been in service for 12 months — a gentle twist while pulling helps. Discard the old cartridge in general waste (the amyloid media is protein-based and non-hazardous, though it will contain captured contaminants from the service period).
Note the orientation of the old cartridge: there is an arrow indicating flow direction. The new cartridge must be installed in the same orientation.
Step 5 — Inspect and Clean the Sump
Rinse the sump interior with clean water. If there is mineral scale or sediment accumulation on the sump walls, wipe with a damp cloth. Do not use cleaning products — they can leave residues on the filter media. Remove the O-ring from the sump groove. Inspect it for cracks, flat spots, or deformation. If the O-ring is undamaged, re-seat it in the groove. If it shows any sign of degradation, replace it with a spare from the system box. A small smear of food-safe silicone grease on the O-ring reduces friction and extends seal life.
Step 6 — Install the New Cartridge
Remove the new cartridge from its packaging. Check the flow direction arrow on the cartridge — it should point upward (into the housing) when installed. Insert the cartridge into the housing body, pushing firmly until it seats. The cartridge top should locate into the housing recess — confirm it is fully seated before threading the sump.
Step 7 — Reattach the Sump
Thread the sump back onto the housing body by rotating anti-clockwise when viewed from below. Tighten by hand only. When the sump is hand-tight and you feel the O-ring seat, stop. Do not use the housing wrench or any additional tool — the O-ring creates the seal, not the torque. Over-tightening deforms the O-ring and causes leaks.
Step 8 — Restore Supply and Check for Leaks
Turn the bypass valve back to the filter position. Open the main stop cock slowly (if you closed it instead of using the bypass). Water refills the housing — you may hear a brief hissing as air escapes through the downstream open tap. Allow the air to clear.
Using a dry hand or a dry cloth, check around the sump joint and all connection points for any moisture. A single drop at the sump joint usually means the O-ring needs reseating — unscrew the sump, check the O-ring is in the groove correctly, and re-thread. Check all bypass and pipe connections in the same way.
Step 9 — Flush the New Cartridge
Open a cold tap downstream of the filter and run for five minutes. New cartridges may contain harmless manufacturing dust (protein residue from the amyloid manufacturing process). The flush clears this and primes the media. The water may appear slightly hazy at first — this is dissolved air and protein dust and clears within the five- minute flush period.
Record the replacement date. Set a calendar reminder for 12 months from today for the next cartridge replacement.
The Mam Nature Swiss Water Cartridge — annual replacement, ETH Zurich-validated media.
Order the Replacement CartridgeRelated Resources
Frequently Asked Questions
How often should I replace the cartridge?
Once per year for a household of four on municipal water. For a 1–2 person household, the cartridge lasts longer in practice, but annual replacement is still recommended — even an underloaded cartridge can develop bacterial biofilm or degraded media over extended periods. For well water or high-consumption households, replace more frequently if you notice flow reduction before 12 months.
Can I use a non-Mam Nature cartridge in the Mam Nature housing?
The Mam Nature housing accepts standard 10" filter cartridges. However, only the Mam Nature Swiss Water Cartridge contains the amyloid fibril media validated by ETH Zurich. A generic GAC cartridge will fit the housing but will provide conventional activated carbon filtration, not the >96% PFAS removal rate of the amyloid technology.
What if the sump is stuck and will not unscrew by hand?
Use the housing wrench included in the system box for initial breakage. Grip the housing body firmly (not the bypass valve). Apply torque to the sump only. If the housing wrench does not provide enough leverage, a strap wrench around the sump body (not the thread area) will add grip without damaging the plastic. Confirm the bypass valve is closed and the housing is depressurised before applying significant force.
Water dripped from the sump when I opened it — is that normal?
Yes. The housing holds 0.5–1 litre of water at the time of opening. Even with the bypass closed and a tap open to release pressure, some residual water remains in the housing and drains when the sump is removed. Have a bucket and towels ready.
The water was slightly cloudy after replacement — should I be concerned?
No. Slight cloudiness after cartridge replacement is dissolved air and harmless manufacturing residue from the new cartridge. It clears within the five-minute flush. If cloudiness persists after ten minutes of flushing, contact Mam Nature support.